When you open a raw file in a raw converter, like Adobe Lightroom, you are seeing image data which is already processed. The actual raw data inside a raw file differs significantly from what you see here. This is mostly because the raw data has not been interpolated to produce a colour image, and the linear nature of light and a digital sensors exposure needs to be set on a logarithmic scale. You can read more about this on DPReview here.
Below is the image that a typical sensor records. Each pixel records the light of only a single colour and saves it as a shade of grey. The raw converter then calculates the colour of each pixel by using the RBG values from every surrounding pixel. This calculation gives us a full colour image, at the expense of colour resolution and sharpness. To see how much damage this does to sharpness, you need only compare it to the Leica M Monochrom camera with its insane greyscale sharpness.

The following details are based on the Mac platform working with Leica DNG raw files. You can convert most native camera raw files to DNG by using Adobe DNG converter. DNG (digital negative) is an open platform for storing digital RAW image files.
To extract the raw data from a DNG raw file, first download the following software. It is the developers work kit for working on the back end of DNG software development.
https://www.adobe.com/support/downloads/dng/dng_sdk.html
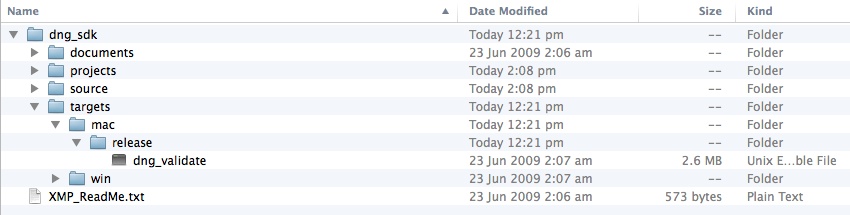
Once downloaded and extracted, you will have the dng_validate application in the following folder hierarchy.
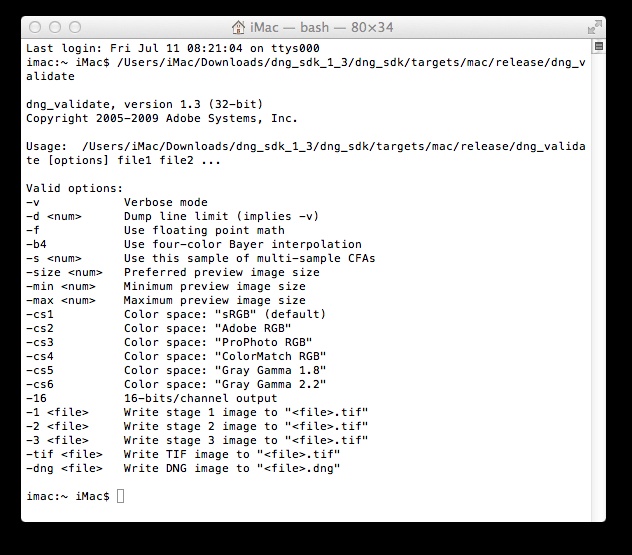
Running this application in Terminal will give you the following options.
Option -3 is the one we are looking for right now. It gives us a fully interpolated image but without the default curves and colour profile applied. To enact it on an image, run the following command in terminal;
path/dng_validate -3 output-path/filename input-path/filename

This will result in a 16-bit tif file that you can open in photoshop or Lightroom to make adjustments. The raw image is not going to look nice. It’s a linear representation of the dynamic range of the sensor with no colour correction. The difference between the two is self evident when comparing the thumbnails of the files. The DNG is based on the default camera profile.

Photoshop contains every tool that you could ever need for transforming the raw image. The curve tool is always my first stop. In the screenshot below you can see how I have adjusted the RGB curve to expand the shadows and compress the highlights. This is essentially what a raw converter does from the start, but since I have the power, I can manipulate it any way I see fit. Remember that every single pixel and shade of grey is currently on this histogram. There are no highlights that can be pulled out of white and no shadows that can be lifted out of black. They are all already there.
You can also see the colour channel curves that I have adjusted. This balances the colour.

Following this I adjust the saturation level of the colours. I do so for each channel independently to avoid burning out some of the more sensitive tones.

After most of your adjustments are made, the final step is to deal with noise reduction and sharpening. The beauty of doing it in photoshop is that you can apply it selectively using layer masks. You can also use the layer styles to change how the sharpening looks. It’s an extremely powerful tool.
